Ever wished you could peek into your home security camera feed while sipping coffee in a cafe on the other side of the world? The ability to remotely access and control your IoT devices, even those tucked safely behind your home router, is no longer a futuristic fantasy, but a tangible reality.
This exploration will guide you through the intricacies of establishing seamless and, crucially, secure remote access to your Raspberry Pi and other IoT devices residing behind a router. We'll demystify the core concepts, dissect the essential methods, and highlight best practices, ensuring that you can tailor a remote access solution that perfectly aligns with your specific requirements. Whether you're a seasoned tech enthusiast or a curious beginner, prepare to unlock the full potential of your connected world.
| Aspect | Details |
|---|---|
| Concept: | Remote IoT behind a Router |
| Description: | Enables control and monitoring of IoT devices from anywhere in the world, even when they are connected to a private network behind a router. This provides accessibility without direct exposure to the internet. |
| Key Components: |
|
| Benefits: |
|
| Security Considerations: |
|
| Common Methods: |
|
| Configuration Steps: |
|
| Practical Applications: |
|
| Example Scenario: | A user wants to remotely monitor their home security cameras connected to a Raspberry Pi. They can set up port forwarding on their router to direct traffic to the Raspberry Pi, install a VNC server for a graphical interface, and use a DDNS service to access their home network even with a dynamic IP address. They must also configure strong passwords and firewall rules to secure their setup. |
| Resources: |
|
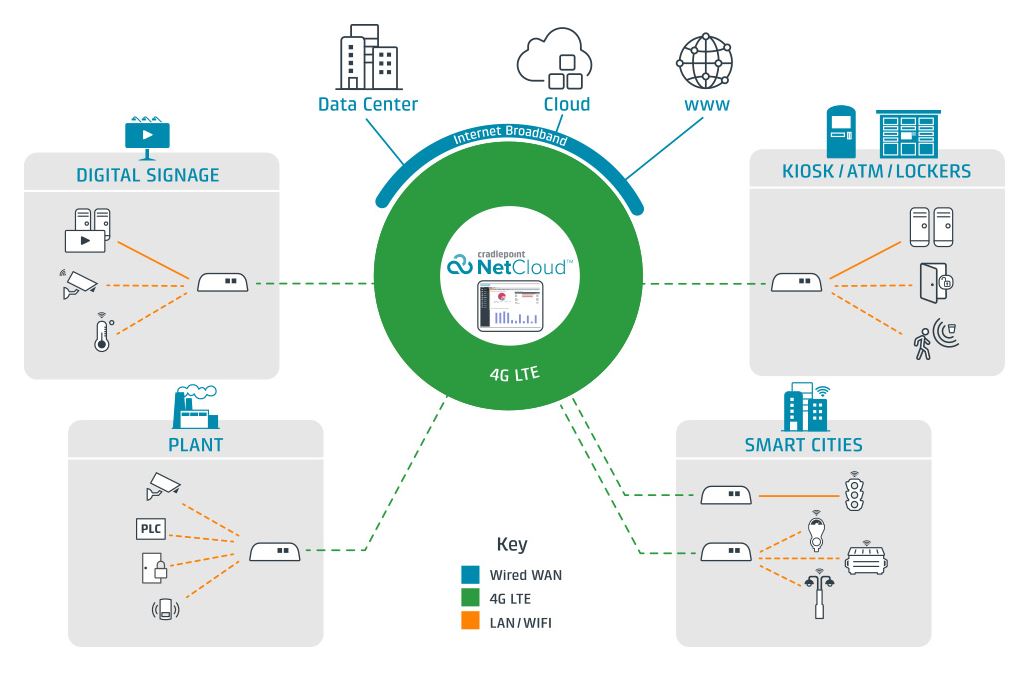
So, what exactly constitutes "remote IoT behind a router?" At its core, it's about bridging the gap between your IoT devices, nestled securely within your home or office network, and your ability to interact with them from anywhere with an internet connection. Routers, the gatekeepers of our networks, typically employ Network Address Translation (NAT), which shields devices from direct exposure to the public internet. This adds a layer of security, but it also presents a challenge for remote access.
- Sing Along Fairly Oddparents Theme Song Lyrics Amp Magic
- Mkvcinemas Legal Info Downloads Ethical Streaming Options
Imagine this: you have a network of sensors monitoring the temperature and humidity in your greenhouse. Or perhaps you've built a smart home system that controls your lights, thermostat, and security system. Now, envision being able to monitor and adjust these systems, regardless of your location whether you're on a business trip, vacationing on a tropical island, or simply relaxing in your backyard. This is the power of remote IoT in action. It grants you the freedom to stay connected and in control, no matter where life takes you.
Several methods and tools exist to conquer the challenge of accessing IoT devices behind a router. Let's delve into some of the most popular and effective approaches:
Secure Shell (SSH): SSH provides a secure, encrypted command-line interface, allowing you to remotely execute commands on your Raspberry Pi. This is particularly useful for tasks such as system administration, software updates, and running scripts. SSH shines when you need a text-based interface and robust security.
- Alabama Gypsy Rose Jennings A Rising Stars Legacy Lineage
- Best Ullu Web Series Watch Offline Unmissable 2024
Virtual Network Computing (VNC): For those who prefer a graphical interface, VNC offers a viable alternative. VNC allows you to view and control the entire desktop environment of your Raspberry Pi from a remote location. This is ideal for applications that require visual interaction, such as running graphical applications or managing files through a file manager.
Web Applications: Installing and running a web application on your Raspberry Pi provides another avenue for remote access. This approach allows you to interact with your IoT devices through a web browser, making it accessible from virtually any device with internet connectivity. Web applications offer a flexible and user-friendly way to design custom interfaces for controlling your IoT ecosystem.
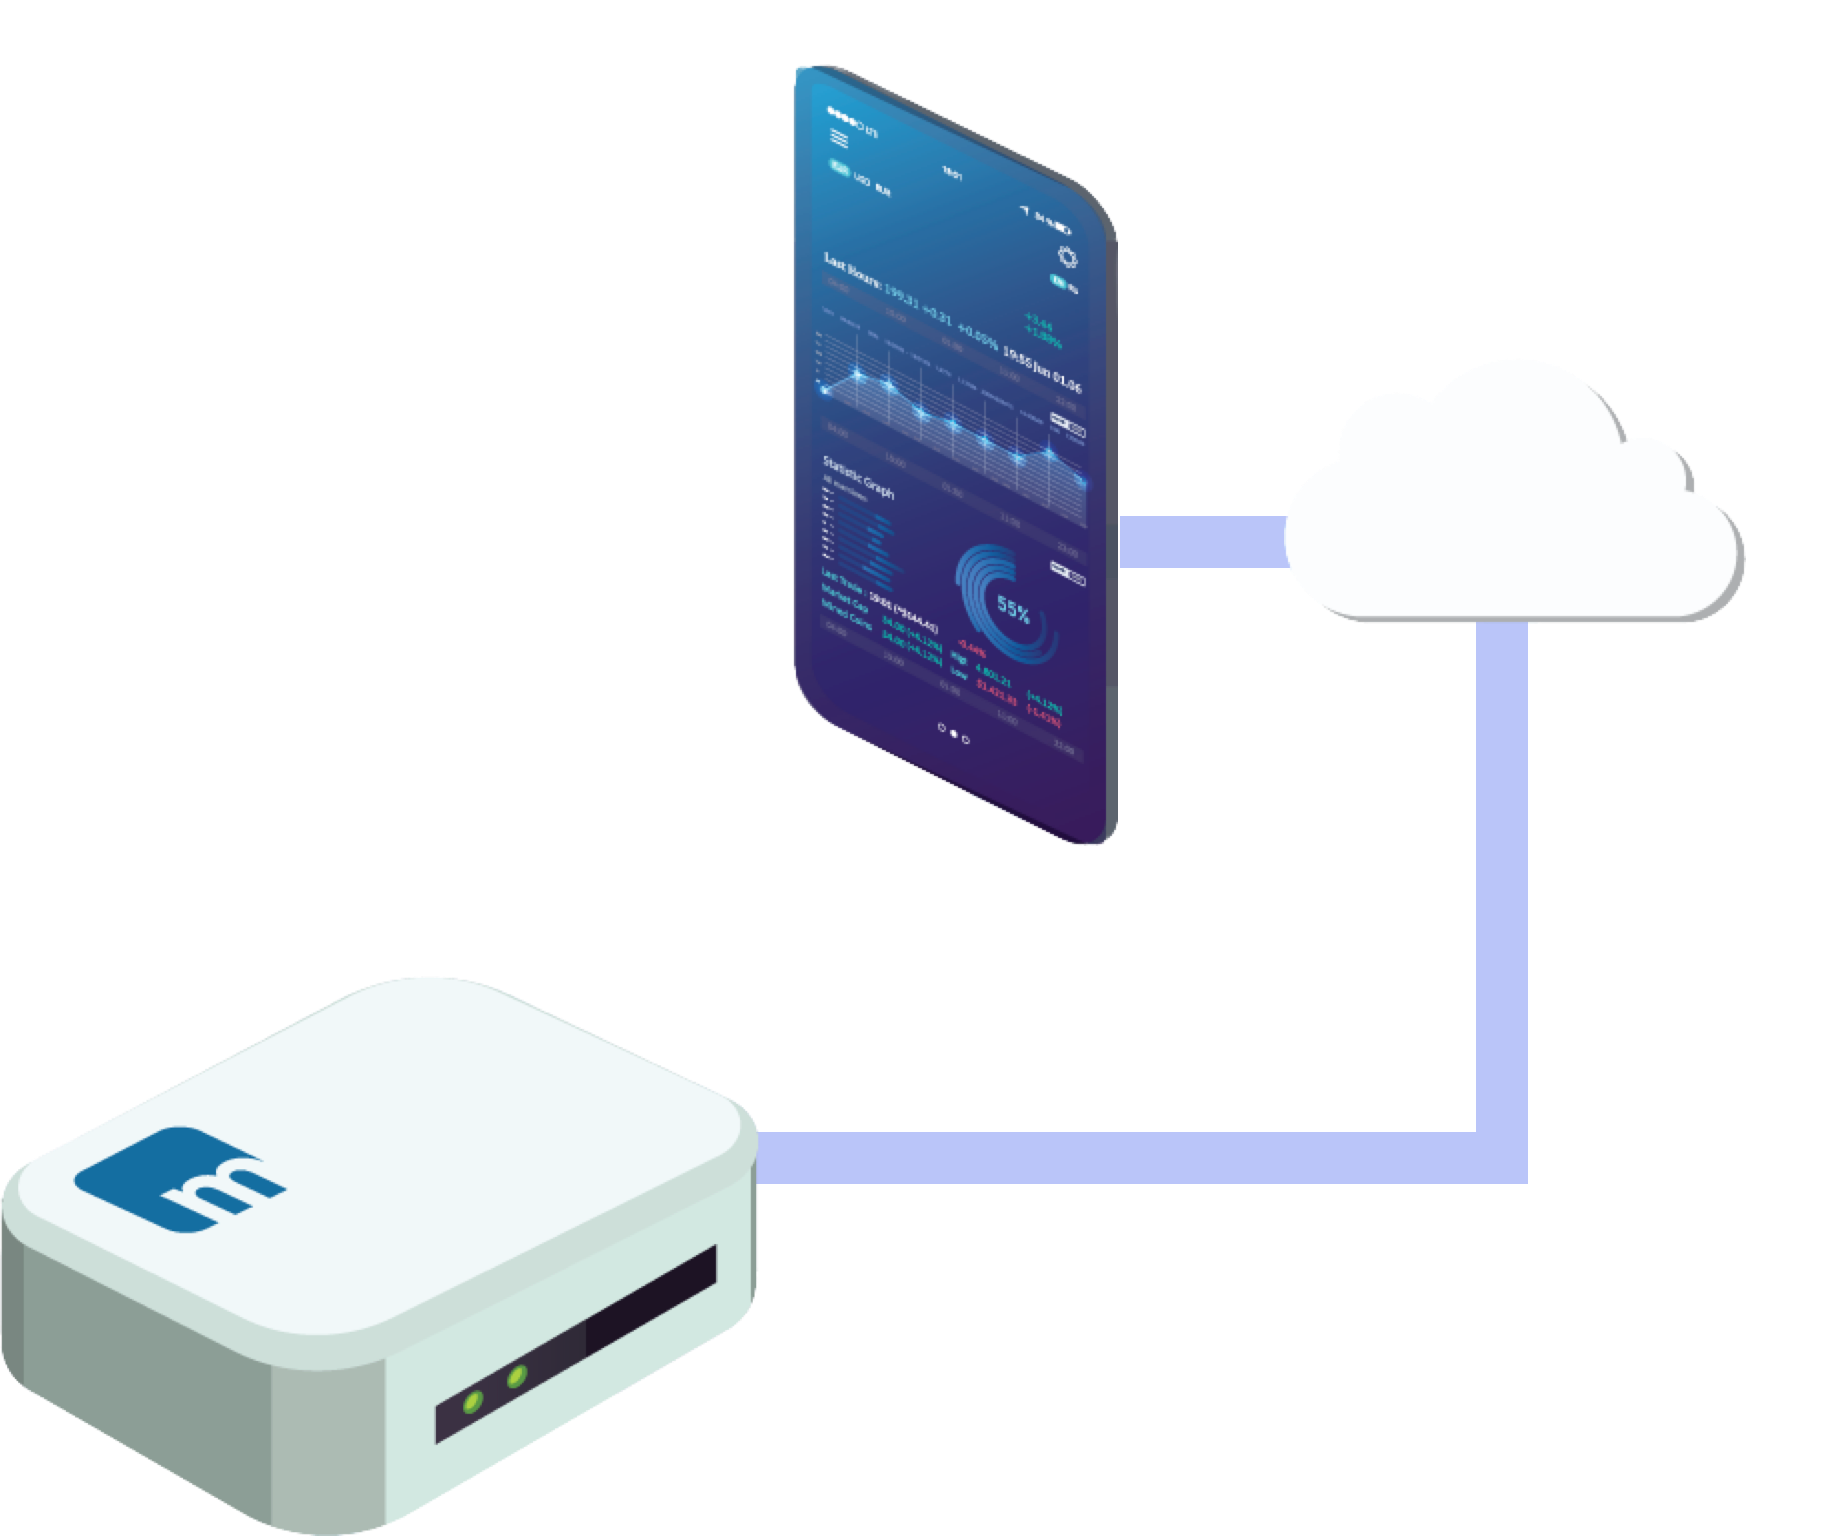
Cloud Solutions: Numerous cloud-based platforms offer remote access services specifically designed for IoT devices. These platforms often handle the complexities of network configuration and security, providing a simplified and scalable solution. Cloud solutions are particularly well-suited for large-scale IoT deployments or when ease of use is a primary concern.
SocketXP: This solution stands out by enabling remote access without requiring any modifications to your router or firewall settings. This simplifies the setup process and avoids potential security risks associated with port forwarding. SocketXP provides a secure tunnel to your devices, making them accessible from anywhere without compromising your network's security posture.
Creating a Secure and Private Network: Another approach, often referred to as "remoteiot behind router raspberry pi free," involves creating a secure and private network that allows you to access your IoT devices remotely. This typically involves setting up a Virtual Private Network (VPN) on your Raspberry Pi, which acts as a gateway between your local network and the outside world. A VPN provides a secure and encrypted connection, ensuring that your data remains protected during transmission.
Setting up remote IoT access behind a router can initially seem daunting, but with a systematic approach, it becomes entirely manageable. Here's a breakdown of the essential steps:
1. Install the Necessary Software: Begin by installing the required software on your Raspberry Pi. This might include an SSH server (such as OpenSSH), a VNC server (such as TightVNC or RealVNC), or an MQTT broker for message queuing telemetry transport. The specific software you need will depend on the remote access method you choose.
2. Configure Port Forwarding (If Applicable): If you're using SSH or VNC directly, you'll need to configure port forwarding on your router. This involves directing incoming traffic on specific ports (e.g., port 22 for SSH, port 5900 for VNC) to the internal IP address of your Raspberry Pi. Exercise caution when configuring port forwarding, as it can potentially expose your devices to security risks if not done correctly.
3. Set Up Dynamic DNS (DDNS): Most home internet connections have dynamic IP addresses, which means your IP address can change periodically. To ensure consistent remote access, you'll need to set up a Dynamic DNS (DDNS) service. DDNS maps a static domain name (e.g., myraspberrypi.example.com) to your dynamic IP address, allowing you to access your Raspberry Pi even when your IP address changes.
4. Implement Robust Security Measures: Security is paramount when setting up remote access. Here are some essential security measures to implement:
- Use Strong Passwords: Choose strong, unique passwords for all user accounts on your Raspberry Pi.
- Enable Key-Based Authentication for SSH: Key-based authentication is more secure than password-based authentication for SSH. It involves generating a pair of cryptographic keys a private key and a public key and using the private key to authenticate to the server.
- Configure Firewall Rules: Configure your Raspberry Pi's firewall (e.g., using `iptables` or `ufw`) to restrict access to only the necessary ports.
- Keep Software Updated: Regularly update your Raspberry Pi's operating system and software packages to patch any security vulnerabilities.
- Consider a VPN: For an extra layer of security, consider setting up a VPN on your Raspberry Pi. A VPN encrypts all traffic between your device and the Raspberry Pi, protecting your data from eavesdropping.
5. Choose a Remote Access Tool: Select a remote access tool that aligns with your needs and technical expertise. Options include:
- SSH Clients: PuTTY (Windows), Terminal (macOS/Linux)
- VNC Clients: TightVNC, RealVNC, UltraVNC
- Web Browsers: For accessing web applications running on your Raspberry Pi
- Cloud-Based IoT Platforms: Many cloud platforms offer remote access tools as part of their service.
6. Test Your Setup: Once you've configured everything, thoroughly test your setup to ensure that you can successfully access your Raspberry Pi from a remote location. Try accessing it from different networks and devices to verify that everything is working as expected.
The Raspberry Pi, with its versatility and affordability, has emerged as a popular choice for IoT projects. Placing your Raspberry Pi behind a router offers a dual advantage: it provides a secure and efficient remote access point, shielding your device from direct internet exposure while enabling convenient remote control.
A crucial aspect of remote IoT access behind a router is security. Implementing robust security measures is not optional; it's a necessity. Failing to secure your remote access setup can leave your devices and network vulnerable to unauthorized access, data breaches, and other security threats. By implementing secure network configurations, employing encryption and authentication, and adhering to best practices, you can reap the benefits of remote IoT access while upholding the highest standards of security.
In essence, IoT remote access behind a router is an indispensable element of contemporary network infrastructure, fostering seamless connectivity and control over smart devices. By grasping the fundamental concepts, methodologies, and optimal practices discussed, you can establish a secure and efficient IoT remote access solution tailored to your precise needs.
Before embarking on the technical implementation, it's essential to understand why setting up remote IoT behind a router, particularly using a Raspberry Pi, is so significant. Remote IoT access empowers you to monitor and manage your devices from any location across the globe. Whether you're overseeing your home security system, fine-tuning smart thermostats, or managing intricate industrial sensors, having dependable remote access is paramount. It provides uninterrupted access to your devices, irrespective of your location.
Consider the scenario of managing security cameras, smart thermostats, or other IoT devices. A reliable remote access solution becomes indispensable. It grants you the ability to monitor your home while you're away, adjust the temperature from your office, or receive real-time alerts from your industrial sensors, all from the convenience of your smartphone or computer. This level of control and visibility is invaluable in today's fast-paced and interconnected world.
Essential details to have on hand before you begin include:
- The IP address of your Raspberry Pi: This is the internal IP address assigned to your Raspberry Pi by your router.
- Your router's IP address: This is the IP address you use to access your router's configuration interface.
- Your router's username and password: You'll need these credentials to configure port forwarding.
- A Dynamic DNS (DDNS) account: If you're using DDNS, you'll need your DDNS account credentials.
- A secure SSH or VNC client: Choose a reliable SSH or VNC client for accessing your Raspberry Pi remotely.
When utilizing remote IoT behind a router, safeguarding data confidentiality and ensuring the security of your devices and networks are of utmost importance. Employing SSH for encrypted communication is a fundamental step in protecting your data from eavesdropping. It establishes a secure tunnel between your device and the Raspberry Pi, preventing unauthorized access to your sensitive information.
To further enhance security, consider implementing multi-factor authentication (MFA) for SSH. MFA requires users to provide multiple forms of identification before gaining access, adding an extra layer of protection against unauthorized logins. This can significantly reduce the risk of someone gaining access to your Raspberry Pi, even if they manage to obtain your password.
In conclusion, utilizing remote IoT behind a router without compromising security is entirely feasible with the appropriate strategies and tools. By implementing secure network configurations, leveraging encryption and authentication, and adhering to best practices, users can fully enjoy the benefits of remote IoT access while upholding the highest levels of security. The ability to remotely monitor and control your IoT devices unlocks a world of possibilities, empowering you to stay connected, informed, and in control, no matter where you are.
This exploration delves into the leading methods and tools for achieving secure and efficient remote access to IoT devices behind your router using Android devices. With the ever-increasing reliance on mobile technology, accessing and managing your IoT ecosystem from your Android device provides unparalleled convenience and flexibility.